Sunday, June 19, 2011

Halfway pie

Once I'd made the ginger gems, I was only one recipe off my halfway mark of 288 recipes. It seemed only sensible to reach that milestone by making a family chicken pie (p141) for Mum, Dad and Nana.


Mum helped me out by deboning and cutting all the chicken thighs while I chopped up bacon, onion, garlic and mushrooms. These went into a frypan to cook until the onion was clear, at which point I stirred through a couple of tablespoons of flour, and began gradually adding stock.


Before long, the contents of my frypan were swimming in a nice brown gravy. I added the chicken, along with mixed herbs, milk and seasoning, then turned the heat down and let the chicken cook gently for about 20 minutes. When the chicken was cooked, the instructions were to 'allow to cool'. Well, I didn't have much patience with that concept, so I left it aside for a token five minutes or so before stirring through some corn and pouring the contents of the pan into a casserole dish.


The filling didn't fill the dish to the top, and since the pastry was to be sealed to the top of the dish, there was going to be a bit of a gap between filling and pastry. Perhaps I should have used a shallower dish, but I went ahead and placed the sheet of flaky pastry over the top. It sagged alarmingly in the middle, but it sealed to the edges ok. I made a halfhearted attempt at 'decorating' the top of the pie with pastry scraps, but really didn't put much effort into it.


After 20 minutes in the oven, the pie came out looking golden and delicious. Sure, it was still a bit saggy in the middle, but the pastry had all cooked properly, which was the main thing. What's more, it was very tasty. Chicken, bacon and mushrooms is always a good combination; throw in some creamy gravy and a crispy pastry lid, and you've got a very successful pie.


The gravy was perhaps a bit thin for a pie filling; I'd suggest using either more flour or less liquid than indicated in the recipe. But runny gravy wasn't enough to detract from the fact that this is a very good pie. I'll be making it again - why don't you try it too?


Saturday, June 18, 2011

Bookarama gems

Some people will wait in line for hours to get concert tickets. Others will camp out overnight for the latest iPhone. You wouldn't see me doing either of these things, but I will drive for two hours to Timaru, then get up early to wait excitedly in line for the opening of Timaru's Rotary Bookarama - the best book sale ever.


Having stocked up on reading material (enough books that I am seriously going to have to buy a new bookcase) I returned to Mum and Dad's place to make good on my promise of ginger gems (p29) for afternoon tea.


I began by putting my gem irons in the oven to heat up while I mixed up the batter. Interestingly, the ginger gems were made differently from the plain ones I made the other week. These were made with creamed butter and sugar, while the plain ones began with melted butter.


I added some ginger and an egg to the creamed butter and sugar, then sifted in the flour. I was supposed to dissolve the baking soda in milk before adding it, but misread the instructions and sifted it in with the flour. Shrugging, I added the milk separately and carefully mixed it all together. Not wanting to overmix the batter, I treated it like muffin mix and didn't worry too much about occasional lumps.


I dropped a little butter into each slot of the gem irons, which immediately started sizzling. I started spooning in the batter as soon as possible. This recipe didn't make quite as much as the plain gems, and I was scraping the edges of the bowl to try and fill up the twelfth slot.


After ten minutes in the oven, the ginger gems were ready. They weren't perhaps as successful as the plain ones - my determination not to overmix had resulted in occasional lumps of partially-mixed flour in the finished product. It seems that overmixing might be the lesser evil in this case. We also came across the occasional little spot of baking soda: something that wouldn't have been a problem if I'd followed the recipe properly and dissolved the soda in milk first.


Despite these little issues, the gems weren't really that bad: nice and light, with a better flavour than the plain ones. I'll have another go sometime, because I'm sure these will be awesome once I get them right!

Tuesday, June 14, 2011

Kind of a tradition

I expect everyone's heard about our latest round of shakes by now. It was eerily familiar to be sitting at my desk, checking Stuff for news reports and hoping that no-one had been badly hurt. I once again left work early and made my way home through heavy traffic to find my belongings scattered around the house.


Still, things weren't as bad as in February, at least in my neighbourhood. There's plenty of liquefaction and surface flooding again, but it's not as extensive. And while I did have to tidy up a bit of fallen stuff in my house, not much was actually broken, and I still had power and (except for a very short period when it stopped for some reason) water to clean with.


When I remembered that I made scones after both the September and February quakes, it seemed like a good idea to continue the tradition. After all, I sill have scones to make! I selected date scones (p32) which are my favourite scones to eat, but somehow I've never been all that good at making them - a complete mystery, since it's merely a variation on the same recipe that I use for my always-reliable cheese scones.


I wanted to soften the dates up a bit, so I chopped them up and left them to soak in a little boiled water for about half an hour (this isn't part of the recipe; I just don't like hard chewy lumps of date in a scone). Then I left them in a colander to drain and made a start on the dry ingredients.


I sifted together flour, baking powder, salt, sugar and cinnamon, before rubbing in some butter and adding the dates. The next step was to add the liquid. The recipe indicates 1 - 1 1/2 cups of milk, but I'd been given a little scone-making tip from my Great-Aunt that I wanted to try out. And since I'm already very familiar with this scone recipe, I felt justified in playing around with it instead of following it precisely.


Auntie Grace's tip was to replace half the milk with water, which apparently makes for a lighter scone. I'd kept the water I drained from soaking the dates, figuring water that was already datey could only improve the flavour (and anyway, we're under instruction from Mayor Bob to conserve water), so I mixed that with some milk and poured it in.


I only used 1 cup of liquid, but it was more than enough. The dough was just a little bit moist, but it handled well enough, and I did feel that the dough felt smoother and lighter as a result of substituting water. I formed it into nine scones (if you try to do twelve as per the recipe, they just come out tiny) and laid them out on a tray.


Finally, I brushed them with milk, sprinkled over cinnamon sugar, and put them in at 220 for 10 minutes. Knowing my oven as I do, I should perhaps have kept a closer eye on my scones and taken them out earlier. Instead, I waited until the timer went off, and the scones were quite dark on top and bottom when I got them out.


I gamely cut one open anyway, but as I went to butter it, I found that the centre was still gooey and entirely uncooked: very unappealing. How does it happen that a scone is overdone on the outside and raw in the middle? Who knows. 


One of the smaller scones was pretty much cooked through, so I ate that one. And it tasted quite good - not the best date scone I've ever had, but nice and cinammony, with lots of lovely soft bits of date, and the cinnamon sugar on top was a tasty addition. I think the water/milk mixture did make the scones a bit lighter, too. Of course, that doesn't change the fact that the whole batch was over/underdone and not particularly usable.  


I'm not sure why, but something always goes wrong when I make date scones. That's just me, though -there's no reason why this recipe shouldn't work for you.

Sunday, June 12, 2011

And guess what? I didn't!

Well, not much, anyway.


I was chatting with Bryn on Skype earlier this afternoon, and in the course of our wandering conversation, I happened to mention that I still needed to choose a recipe to make today. We both immediately pulled out our Edmonds books to discuss the merits of various recipes.


There were several cake recipes that we considered, but after careful consideration, we selected a winner: macaroon cake (p50). Bryn had just one piece of advice for me. "Just don't screw it up, ok? I want to see how it turns out". Clearly, as an old friend and regular blog reader, he's well acquainted with my tendency to make silly, absentminded  mistakes in the kitchen.


With this admonition in mind, I actually remembered to check I had all the ingredients before I started. Not just by reading through the list and thinking "oh yes, I have some of that" (my usual, not exactly infallible method) but by actually opening the cupboards and having a look. So far, so good.


I began by making the base, creaming butter and sugar, then adding vanilla and egg yolks. I thought I'd blown it when I was separating the eggs - I got a small amount of yolk in with the white, not a good thing if you want the whites to beat up properly. After a short struggle with spoons and kitchen towels, I was satisfied that all traces of the renegade yolk fragment were gone, so I set the whites aside and returned to making the base.


Having beat in the egg yolks and vanilla, I added the dry ingredients, mixing them in alternately with a small amount of milk until the mixture was combined into a dough. I then pressed the dough into a 23cm square tin, and turned to making the macaroon.


Despite my earlier worries about yolk-taint, the egg-whites beat up beautifully. Before I read the recipe, I'd assumed that the sugar would be beat into the egg whites at this point, like a meringue, but it seems that a macaroon is different: you just fold the sugar in, along with a large amount of coconut.


I spread the meringue mixture on top of the base, and put it in at 180 for 25 minutes, assuming (correctly, as it turned out) that in my oven it wouldn't need the full half hour.


When the timer went off, the macaroon was perhaps a bit darker than I would have liked, but not too bad. I left it in the tin for ten minutes before lifting it out onto a wire rack. The question was, how to get the baking paper off the bottom without the whole cake falling to pieces? The usual rack-top-and-bottom manoeuvre was a complete failure, resulting in the cake sitting macaroon-down on my benchtop. I did get the paper off, though, and with the help of of a couple of dough scrapers, was able to turn the cake right-side-up with minimal crumblage - just a bit around the edges.


So despite Bryn's obvious lack of faith in my culinary abilities, my macaroon cake has been quite successful. When discussing the recipe with Bryn, I'd wondered if it might be a bit bland, but it's not: it's sweet, coconutty and far more decadent-tasting than I expected. It's crumbly and difficult to eat without making a mess, but it sure tastes good!

Wednesday, June 8, 2011

Actually effortless

This evening I decided to tackle stuffed baked potatoes (p165). Actually, it ended up being stuffed baked potato, since I only had a single potato in the cupboard.


 Baked potatoes take a while to cook, but they're very easy: you just scrub a potato, brush it with oil and stick it in the oven for an hour and a half. (There are also instructions for a microwave version, which is much faster).

When once your potato has finished baking, you slice the top off it and scoop out the centre. Then, just mash the potato you've scooped out with a bit of butter, milk, grated cheese and seasoning, before returning the mash to the potato shell. Finally, put the potato back in the oven for a few minutes.


As usual, I've just noticed something I previously missed in the recipe: you're supposed to sprinkle extra cheese on the top of the potato before you put it back in. Never mind, mine tasted just fine without it!


It's easy to look at a recipe like this and think it's too much effort. Well, it really doesn't take much at all: you just need to get the potatoes in the oven (or microwave) and let them do their thing. The scooping and mashing is easy too - and you end up with a tasty, filling dish that's ideal for a chilly evening. Fluffy, cheesy potato encased in a crispy potato-skin shell: why wouldn't you give that a go?

Sunday, June 5, 2011

Try it upside down

On being invited to Lauren and Tom's for dinner last night, I once again offered to bring a dessert. It didn't take me long to choose what I would make: I'd been itching to try upside-down pudding (p213) for ages.


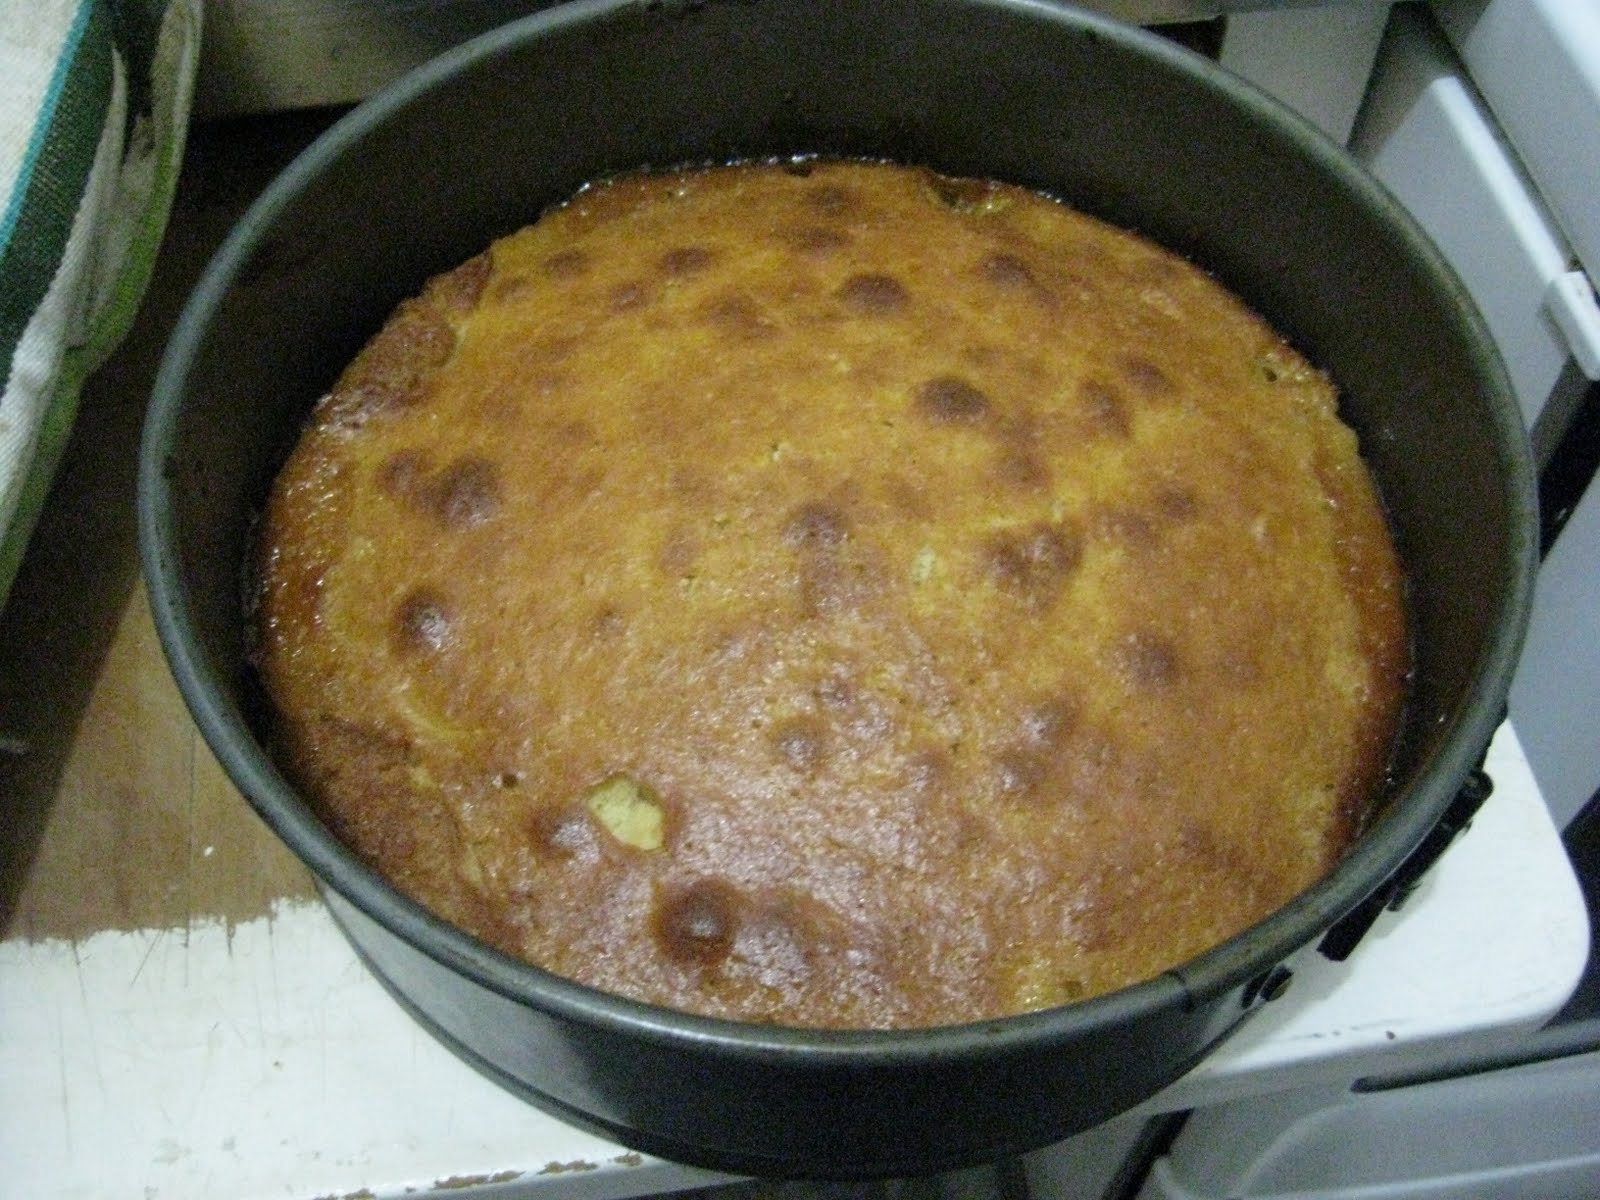
It's quite a basic concept - you place fruit (namely pears or pineapple slices - I chose the pineapple) in the bottom of a cake tin, then spoon a cake-style batter on top. When the pudding is cooked, you turn it upside-down and the fruit has baked into the top.


I started by preparing the batter, which is made in the usual 'cream butter and sugar, beat in eggs then add dry ingredients' fashion. It was ready in quite a short time, and I went on to prepare the pineapple topping. The fruit topping needs a caramelised finish, so the first thing you put into the tin is a mixture of melted butter and brown sugar.


I prepared the sugary mixture and spread it evenly over the bottom of a 20cm tin. Then I opened a can of pineapple slices and began arranging them on top of the sugar. The recipe indicates that eight pineapple rings should be used in a 20cm tin, but I ran out of room once I had placed five in a ring around the edges. With a little rearranging, I managed to squish in a sixth pineapple ring, and by chopping a piece out of a seventh, I made a smaller ring to fill the gap in the centre.


With the cake tin well-lined with pineapple rings, I spooned in the batter and got the pudding in the oven. It was baking away when I started to hear a sizzling noise from the kitchen. I went and had a look: the butter in the base of the tin was oozing out the join of the springform tin I'd used. There was nothing much I could do about that except place a piece of tinfoil in the bottom of the oven to catch the drips.


After about half an hour (the recipe says 40 minutes, but my oven often cooks things faster) I took the tin out and upended it onto a cake plate. The pudding came free quite easily, and looked so tasty I wished I could scoff some of it immediately.


Instead, I packed up the pudding and took it around to Lauren and Tom's, along with some ice cream. Once we'd gorged ourselves on Tom's delicious roast pork and crackling, I went and heated up the pudding.


The upside-down pudding not only looked good, it tasted great too. It was moist and fruity from the pineapple, but the best parts were the chewy caramelly bits around the edges. I suspect that there would have been even more of this delicious caramelisation if half the butter hadn't oozed out during the cooking.


I'd recommend you try this one - it's a bit of a winner. I'm even tempted to have another go, this time trying it with pears instead of pineapple pieces. If I do, I'll be using a different cake tin, with no joins for the caramel to escape!

Thursday, June 2, 2011

Flan? Sounds like a plan

I'd come to the conclusion that I haven't been eating enough vegetables these past few weeks. The obvious action was to open my Edmonds book to the vegetables chapter and see what I could make to remedy the situation. For some reason, a recipe I'd never really noticed before caught my eye: vegetable flan (p166).


Ok, so it's not entirely vegetables. There's some butter-heavy pastry and a bit of egg and cheese. But it's also chock-full of pumpkin, courgette, onion and potato. That makes for more veges than I have been managing lately, at least!


The first thing to do was make the pastry: rubbing butter into a mixture of wholemeal flour, salt and baking powder, then adding enough water to make a dough. There seemed to be an awful lot of butter - I think you could probably reduce the quantity quite a bit.


When I had the dough made and in the fridge chilling, I made a start on the filling. The pumpkin, potato, courgette and onion all had to be grated: a big job, if I didn't have my trusty food processor to do all the hard work! Soon I had a large bowl of grated vege, and only needed to add some herbs, cheese, and a sizeable dollop of my homemade relish before mixing it all together.


I rolled out the dough and lined a pie dish, but there was still one element to be added to the filling. Four stiffly beaten egg whites had to be folded through the vegetable mixture. I wasn't sure about this: clearly the idea is to make the flan nice and light, but the grated veges were so heavy I didn't see how they could combine successfully.


Surprisingly, the egg white and the vege mixture combined quite well. The filling seemed a lot lighter once I'd added the egg and was spooning the filling into the base. There was actually a lot of filling - the pie dish was almost overflowing by the time I'd got it all in.


The flan went into the oven for 40 minutes. When I took it out, it was golden on top, as described in the recipe, but I wasn't sure if it was really cooked through. Only one way to find out: I stuck a knife in and had a look.


The centre of the flan was so gooey as to seem almost juicy. I think quite a bit of the liquid had come from the vegetables - I should perhaps have squeezed the juice out after I grated them. My biggest worry was that some of the moisture was from egg that hadn't cooked through. I put the flan back in for another five minutes or so.


When I took out the flan for the second time, I decided it was as cooked through as it was likely to get. It was starting to gt a bit dark on top, and I didn't want to burn it. So I cut myself a wedge of flan, (which fell to bits when I tried to get it out - I had to use a spoon in the end) and had a taste.


Well, the pastry was kinda soggy and falling to bits, and the texture of the whole flan was a bit weird, but actually it tasted not too bad. Veges, cheese and egg, with the occasional hint of relish - perhaps not 'flantastic' (ok, that was terrible: I apologise), but nice enough.


Would I make it again, though? No, probably not. It was quite involved, when you consider the pastry, the veges and the egg-whites. It took quite a while to prepare and the result was only average. On top of that, what am I going to do with four leftover egg yolks?

Popular posts this week